I have always looked at cost versus performance with gear, and although I love the classics, I don't always love the price tag. I enjoy DIY projects for several reasons; gaining a better understanding of how gear works; if it's in need of repair, I can fix it myself; the cost is less expensive; and I enjoy the satisfaction of building it myself. I'm pretty good with directions and a soldering iron, however I am nowhere near a qualified technician or electrical engineer. This review will be on the latest incarnation of 1176-style compressor kits by Seattle based Hairball Audio, who offer DIY kits based on Universal Audio's 1176 (Rev A, Rev D, and now F) alongside several 500 Series mic preamps.
The Universal Audio Rev F FET compressor, released in 1973, utilized a Class AB output amplifier based on the 1109 amplifier, with the same output transformer that was used in Universal Audio's LA-3A compressor. At this point in the circuit's history the low noise section had been integrated into the circuit board, giving the Rev F the lowest THD (total harmonic distortion) of the 1176 range. Also, it should be noted that the Rev F's VU meter was changed to an op-amp design.
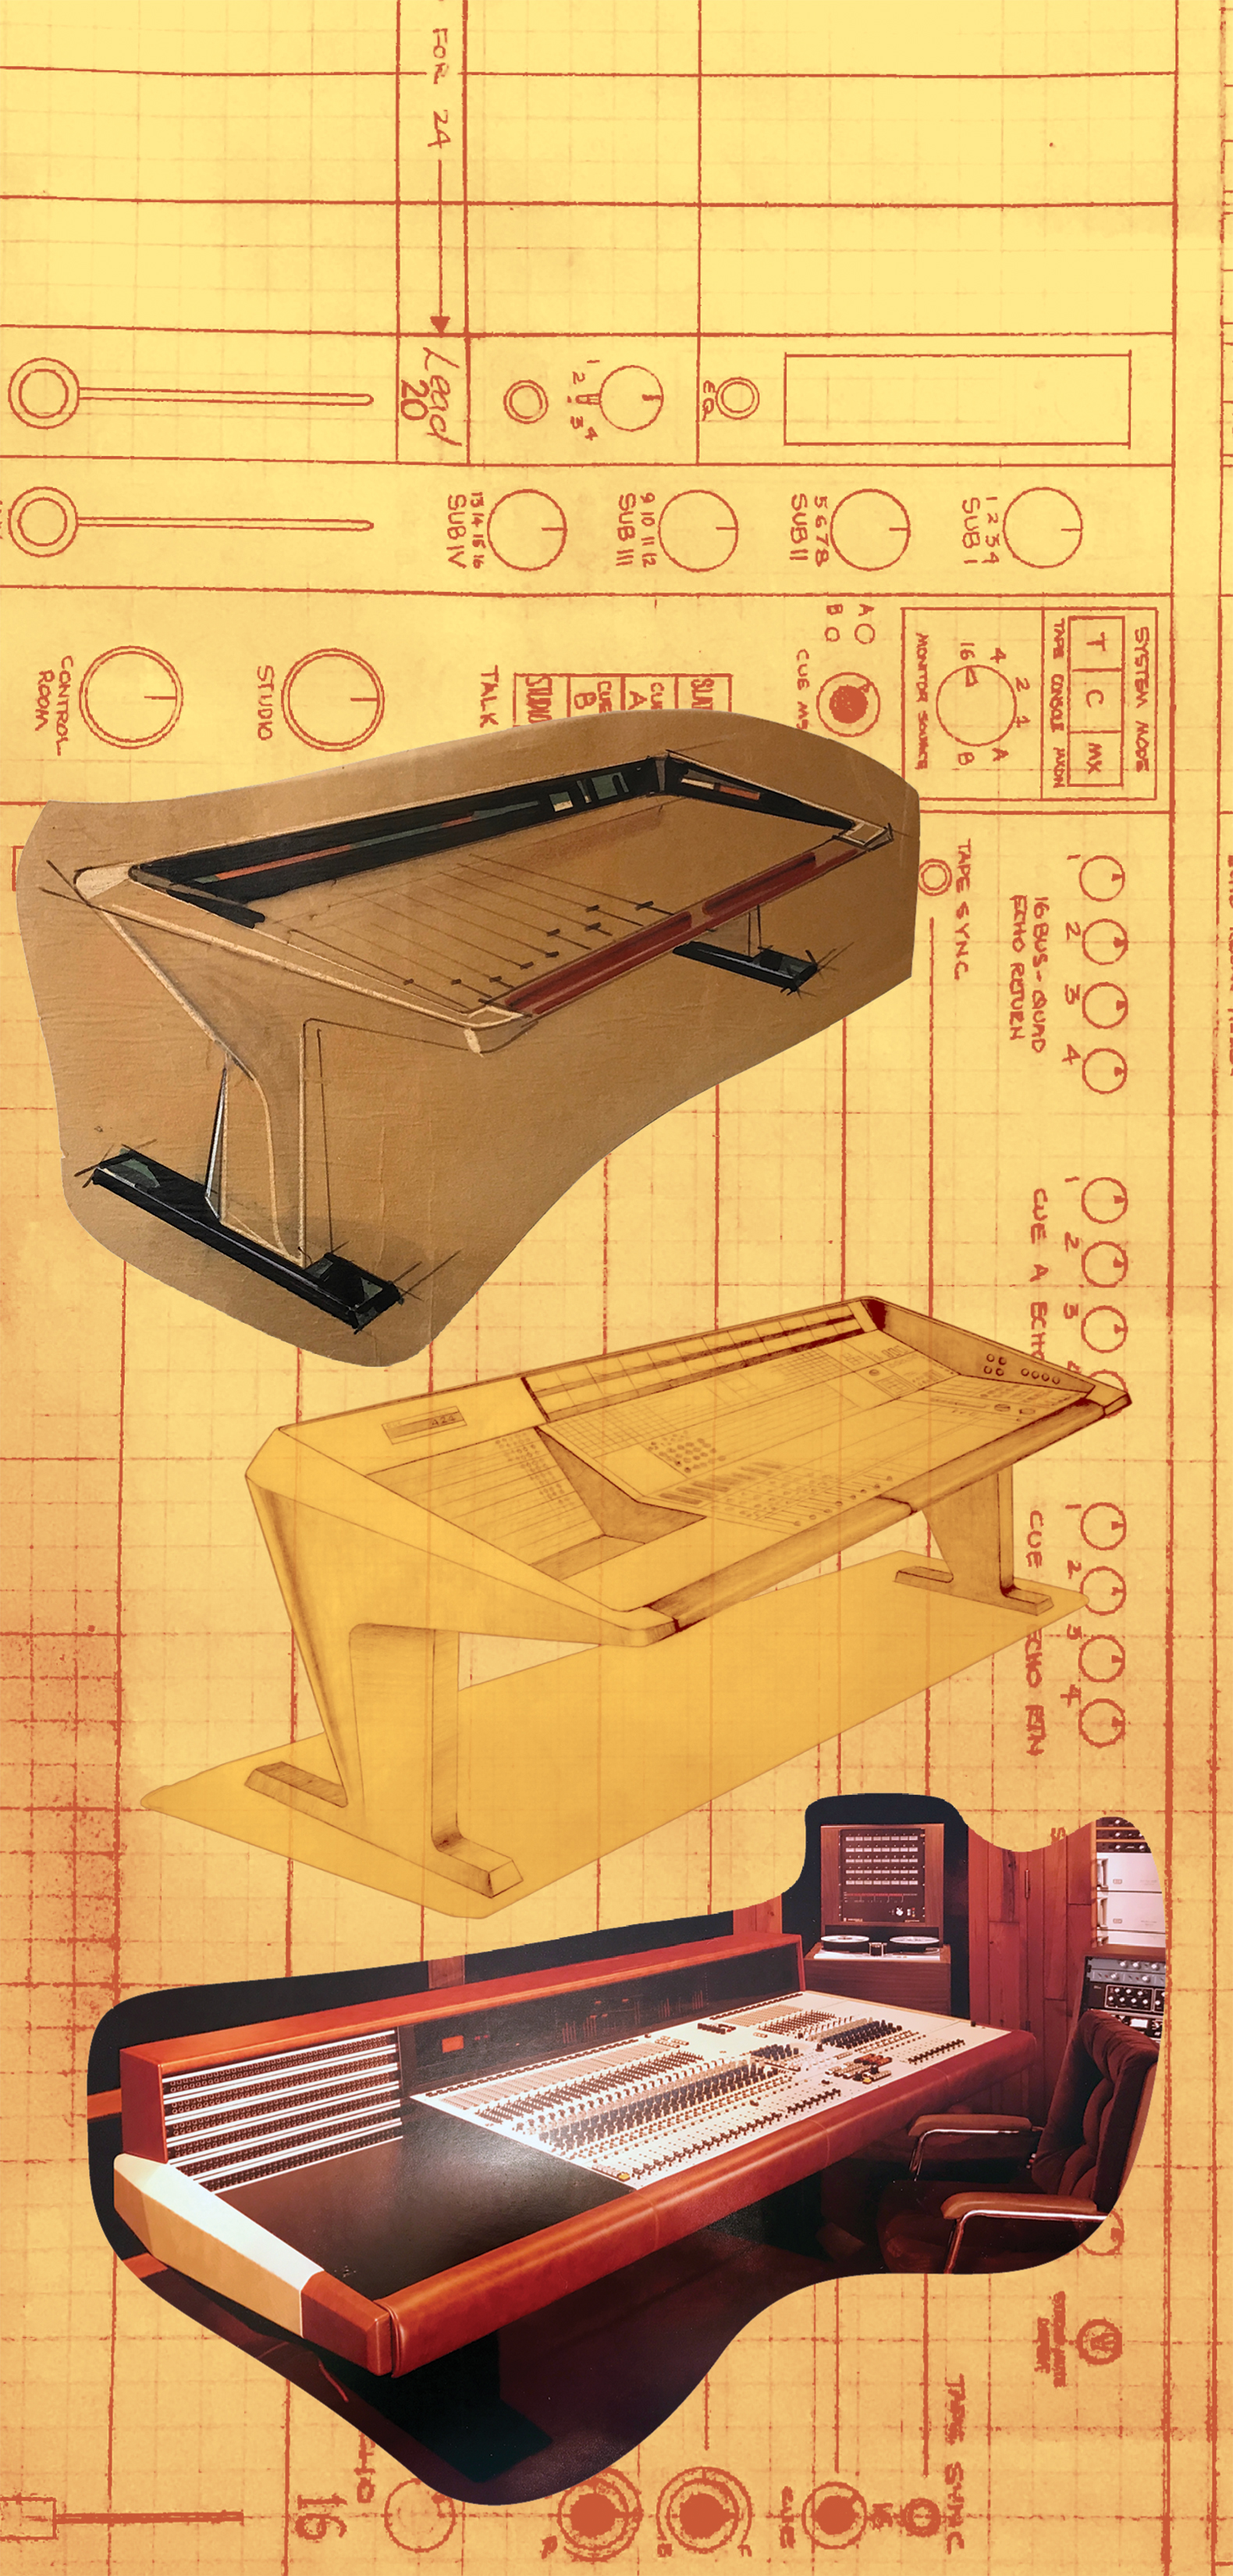
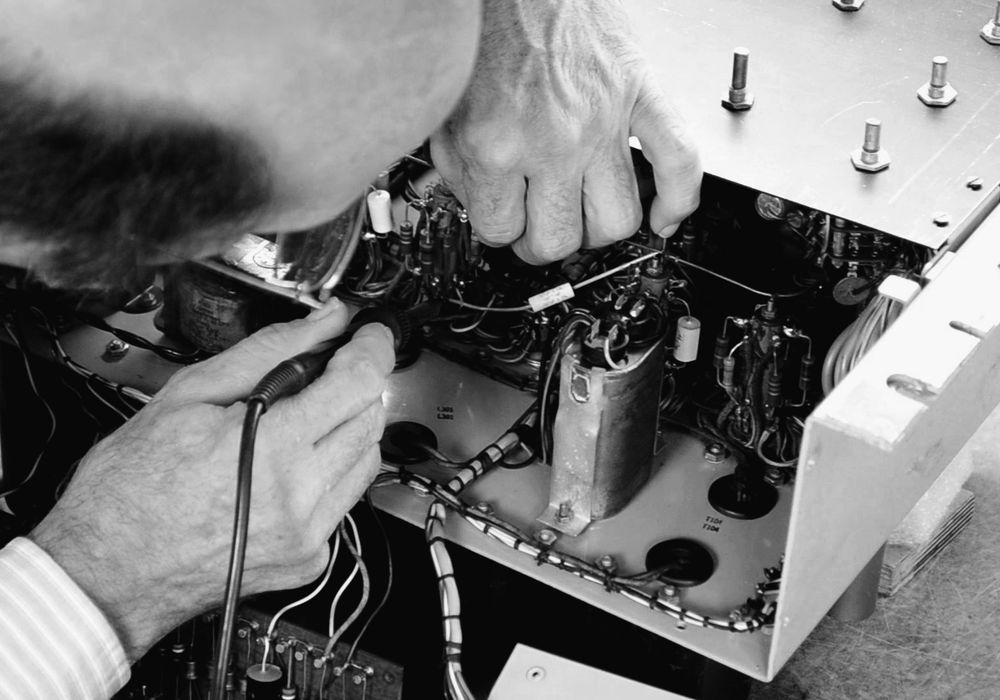
Unboxing the Revison F Kit, everything was clearly labeled and organized in individual packages for the different sections of the circuit. All instructions are online, broken down into stages of the build, accompanied by photos. Hairball has created an interactive build-map, which is absolutely brilliant. This time saver allows you to check off what is already populated and highlights the component on the schematic. All components of the discrete audio path are high quality, with Bourns trimpots, Neutrik XLR connectors, and film resistors. Taking the time to double-check component values will save you in the long run. I cannot stress this enough, as two blue ceramic caps were swapped, causing hours of frustration. I immediately went and bought a magnifying glass. Yes, the print is really that tiny. Most of the really difficult portions of this build have been simplified. JST connectors are used (instead of having to wire everything by hand), the Ed Anderson transformers are board-mounted, and the FETs are already matched. I split the build up over a few days, and throughout the build guide the in-depth sections help further explain what's going on in the compressor, which really helped with my understanding of how this module works. If you get stuck during the build, there are troubleshooting documents and forum threads discussing build problems. Customer service is top notch - owner Mike Mabie was quick in answering a ton of questions from me, and with troubleshooting the build.
The finished project is housed true to 1176 form, with a black 2U steel enclosure, authentic knobs, and Hairball's own twist; a red stripe with red off button. I dig it! What a nice differentiation from canned blackface revisions. After the calibration procedures, the Hairball's first test was running an analog drum sample pack I'm working on for LP24audio.com with no compression. The Revison F has the Off setting which bypasses compression, and just gets the vibe of the transformers. The Hairball imparted a bit of girth to the low-mids, which added weight to the percussive sounds. Next up was tracking bass and acoustic guitar for the band Go By Ocean's newest EP. On the Martin D-28 acoustic guitar we recorded, the Revision F offered a glossy, hi-fi sound while still retaining the guitar's original character. The Revision F really made the Martin a better version of itself. The compressor really brought electric bass forward enough to cut on a rock track without coloring too much. On electric guitars I found the Revision F to be less aggressive in comparison to a Rev A or D, while still imparting the classic fast FET compression that helped them sit up front in the mix. Crushing drum overheads with "all buttons in" made me instantly want to build a second Revision F for this purpose specifically. With not as much pumping character compared to its 1176 counterparts, the Revision F still had it in spades.
The usual suspects are required for such a build: a soldering iron, a digital multimeter, some wire cutters and strippers, and soldering skills. Soldering is an essential skill to have, and after watching the instructional video provided in the kit's directions I've definitely learned a few things. To be fair, this is an intermediate build. If this sounds daunting to you, there are smaller DIY projects available that will boost your confidence.
It's a great time to be an engineer and musician, and there are a lot of choices. For the price of this kit you could buy an already finished clone from another manufacturer, but here's some reasons why you might opt to build a kit: (1) there are component options (which make a performance difference beyond the expectations of a stock unit) - like the robust power supply in the Hairball kit, (2) you'll learn a lot (I am firm believer that I can get more of out my gear knowing what each section of the circuit is doing and, more importantly, why it functions), and (3) it sounds great! It really, really does. Hats off to Hairball Audio for putting out another great kit!
_disp_horizontal_bw.jpg)