It's common knowledge that a beautiful, well-designed and well-crafted tube mic preamp is going to cost as much as a budget used car. There is a low-cost alternative, nonetheless. Given the right information and some patience, PAIA's tube mic pre can be modified to compete with much higher priced devices.
The PAIA TMP kit makes an excellent choice for this type of project. It doesn't cost much — a single kit is around $100 including the case, and two kits can be had for roughly $160 purchased new. I acquired the one used in this article on eBay for $43 with the rack-mount enclosure. They make excellent learning tools for those new to electronics. Best of all, PAIA's circuit design is rich with possibilities — make a few alterations, and this device really shines.
At the heart of this preamp is one 12AX7 tube in a Class A, starved plate configuration. 45VDC powers the tube plate, and the cathode filaments are heated with 12VAC. This gives the pre a unique sonic characteristic, different from vintage devices, which generally utilize at least 100V on the plate. AC-heated filaments introduce some noise, though — a stock TMP has a noise floor of roughly -85dB. That's not bad, but it can be pushed much lower.
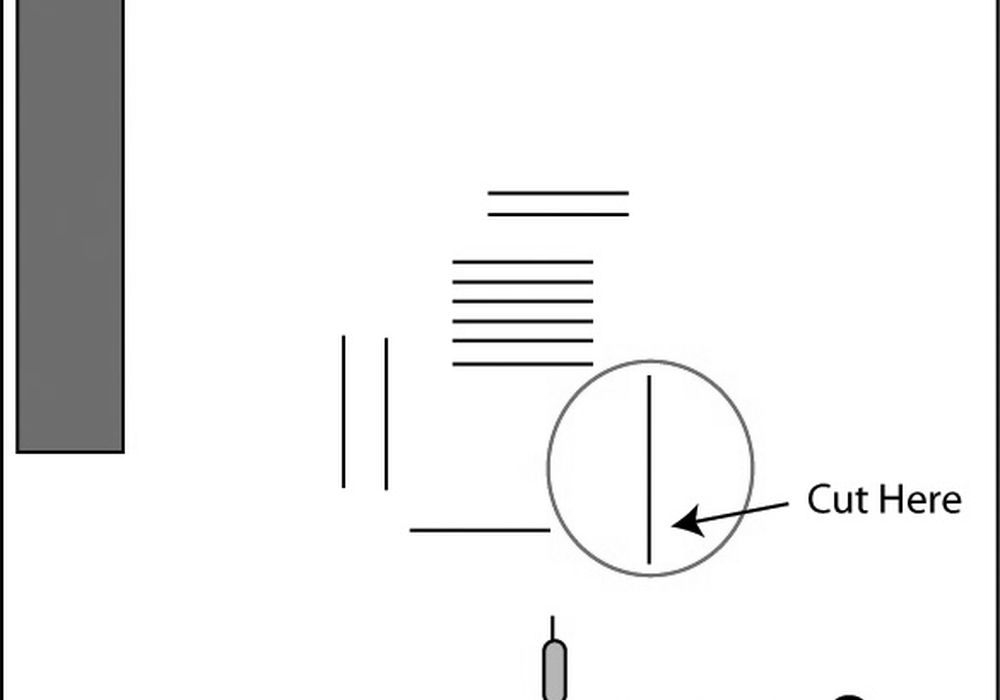
Pin four of the tube connects to the AC side of the preamp's power supply, at a spot marked "F2", and pin five ties to the circuit ground. The noise floor will improve once the filament pins are heated with filtered DC. To achieve this, disconnect pin 4 from the AC supply, and connect a 1W 15-ohm resistor from pin 4 to the junction of D2, C3, and R2. This is the negative DC side of the power supply. Since most of the preamp's circuitry draws from the positive DC side, this helps to balance the supply load. Next, connect a 1000uf 25V electrolytic capacitor between pins 4 and 5 of the tube. The — side of the cap attaches to pin four, and the + side attaches to pin 5, which stays attached to its original ground. This will provide a filtered -12VDC supply to the filaments and quiet things down.
The type of tube used in this pre is important. The stock Sovtek 12AX7WA is noisy and lacks good musical detail when compared with other options (some kits use an even noisier Chinese 12AX7). I replaced it with an Ei ECC83 — a Yugoslavian replica of the Telefunken flat-plate 12AX7. The Ei exhibits very low noise and high gain, yet it maintains an incredible amount of musical detail and dynamic range. It's also much cheaper than NOS Telefunkens. Make sure it has been pre-screened, since some of the Ei's tend to exhibit very high microphonics.
One section of great significance in any transformerless design is the input differential. It matches input impedance and determines the preamp's common mode rejection ratio. The input differential here utilizes a basic Wheatstone Bridge, two decoupling capacitors, and a diode network to discharge them, all of which are strapped between voltage and ground. Look at the components that make up the legs of the differential: R25 and R36, R26 and R37. Pull these resistors out of the circuit and measure them with a DMM. Impedance differences within legs reduce the circuit's CMRR, so resistors within each leg should be matched to the ohm. Replace mismatched components using 1% metal film resistors. Replace R21 and R30 with matched 1% metal film resistors as well.
Now that the differential bridge is finished, let's examine the solid-state section. The input side is single ended, and employs a standard differential amplifier built around 1/2 of IC2, an NE5532 dual op-amp. R19 and R20 determine gain on the negative side, and R38 and R39 on the positive side. On the output, IC3 is an inverter follower, using a 5532 to amplify and invert the signal from the tube. The 5532's have decent unity- gain specs, but they should be replaced with devices that will rival discrete circuit performance. I chose Burr Browns because of their clarity, sonic detail, and smooth midrange response.
Remove IC2 and IC3, and socket the op-amp footprints. Since the input stage of the preamp is high gain, I chose Burr-Brown's OPA2228 as a replacement for IC2. The 2228 performs well in situations where gain is greater than five, and its wider bandwidth will provide better high-end response than the 5532, without drawing an excessive amount of current. I selected Burr Brown's OPA2604 as a replacement for IC3, since it offers fantastic unity gain specs and jfet inputs. One important note — route the power switch AC wire along the back of the chassis, keeping it as far away from IC3 as possible, since it's sensitive to induced hum.
The PAIA uses six coupling capacitors within the audio path. Perhaps the most significant of these are the output couplings. Pins one and seven of IC3 are RC coupled to the preamp output via R21 and R30, and C21 and C22. Coupling is used in transformerless designs to compensate for voltage offset within the amplifier stages. In this case, I measured between zero and three millivolts DC voltage on pins one and seven of IC3. That's very good, especially for a three-stage device with about 60dB of gain. Despite the low DC offset, it's a good idea to keep the RC coupling in place, although the 33uf caps are a bit large for the 2604's needs. They allow frequency response down to 0.5 hertz when driving a 10k load impedance — that's close to DC level, and somewhat defeats the purpose of the coupling.
Upgrading the signal chain capacitors greatly improves the ability of the preamp to deliver a clean and accurate signal. Cheap electrolytics are not good at handling audio signals. They exhibit distortions and nonlinearities at higher frequencies. To avoid this, I replaced C17 and C20 with 1uf xicon polypropylene capacitors, and I substituted a 47pf polystyrene for C18. C21 and C22 were replaced with 10uf 16v Black Gate "N" types and .1uf Sprague Orange Drops placed in parallel.
There are just a few improvements left. C12 should be replaced with a larger value — a 1000uf 50v cap instead of the stock 47uf. The greater capacitance will prevent high-end, large diaphragm microphones from overloading the phantom power circuit. Use a 47uf cap to upgrade C14 from 1uf — this will reduce ripple on the tube plate.
Altogether, these modifications will produce stellar sounding results, with very little distortion and less error than the stock design, and at a fraction of what comparable sounding devices would cost. If you are interested in reading further about the subjects addressed in this article, I've listed some additional resources.
Thanks to Alan & Sara, Heather @ Ecto, Scott Lee & PAIA, Cmoy & Tomo @ Headwize, the peeps @ Triode, and Pete from Decibel Audio for their help with this article.
TMP mods listed on PAIA's website
TMP Schematics
OPA2228 Data Sheet
OPA2604 Data Sheet
Ei ECC83 Data Sheet
Steve Bench's site on Capacitors and Audio
Parts List
Digikey
(1) 1W 15 ohm resistor — Digikey p/n OX150K-N
(1) Burr Brown OPA2228 dual low-noise op-amp — Digikey p/n OPA2228PA-ND
(1) Burr Brown OPA2604 dual fet op-amp — Digikey p/n OPA2604AP-ND
Total — $13.00 before shipping
Michael Percy Audio
(1) 1000uf 50v Nichicon KZ electrolytic
(1) 1000uf 25v Nichicon KZ electrolytic
(2) 47uf 50v Nichicon KZ electrolytic
(5) 6.81k Holco H4 audio grade precision metal film resistors
(5) 10k Holco H4 audio grade precision metal film resistors
(5) 475 ohm Holco H4 audio grade precision metal film resistors
(2) Black Gate "N" 10uf 50V audio grade capacitor
Total — $25.15 before shipping
Triode Electronics
(1) Ei ECC83/12AX7 tube — Triode Electronics p/n 12ax7einp (pre-screened)
(2) Sprague .1uf Orange Drop — Triode Electronics p/n 715p-1
(1) 47pf polystyrene cap — Triode Electronics p/n ps47-600
(2) 1uf Xicon Polypropylene cap — Triode Electronics p/n xicon-1uf250v
Total — $11.08 before shipping
Radio Shack
(1) Package of two low-profile 8-pin sockets, Radio Shack p/n 276-1995A (available in store)